Ghost Mannequin
How To Create Professional Ghost Mannequin For E-commerce
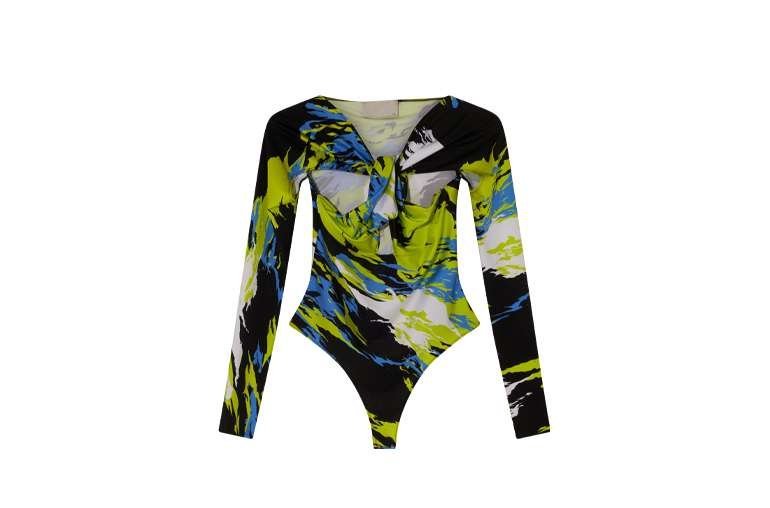
Professional ghost mannequin images are a crucial element for any e-commerce store that sells clothing. They show garments with shape, fit, and drape, without a model, and they keep a catalog consistent. This guide covers the full workflow, from planning to final quality checks.
Pre-production planning
Understanding your target audience Decide what each garment must communicate: fit, length, fabric, and key details. A structured jacket needs different views than a soft knit, and the shot list should reflect that.
Selecting the right apparel Choose garments in clean, steamed condition and group similar items together. Consistent grouping keeps lighting, framing, and editing standards steady across the batch.
Preparing the clothing items Steam, check seams and fastenings, and remove lint and loose threads before shooting. Preparation here reduces editing time later and keeps fabric looking natural.
Setting up the photography studio
Equipment needed for ghost mannequin photography Use a mannequin with removable parts for neckline and sleeve views, a tripod, even lighting, and a clean background. Fixed camera and light positions are the foundation of consistency.
Lighting and backdrop tips Soft, even light from both sides avoids harsh shadows and color shifts. Mark light and camera positions so every garment is shot under the same conditions.
The photography process
Positioning the mannequin for best results Center the garment with balanced margins and identical framing for front and back views. Capture inner views for the neckline and cuffs, since the neck joint depends on them.
Camera settings and techniques Use manual exposure, white balance, and focus, and shoot at high resolution. Fixed settings prevent color and brightness drift between garments.
Tips for capturing consistent shots Follow one shot list per garment, check each shot on screen, and name files by product and view. Consistency at shoot stage is far cheaper than fixing variation in editing.
Mannequin and product preparation
Dressing the mannequin properly Dress carefully so the garment sits naturally, with no pulling or twisting. Use hidden clips to hold shape, and check symmetry from the camera position.
Factors to consider for various clothing types Light fabrics need gentle handling to avoid stretch marks in photos. Structured garments need careful shoulder and collar placement. Layered items need each layer checked separately so nothing bunches out of sight.
Post-production: neck joint and final checks
Editing removes the mannequin, joins inner views at the neck joint, corrects color, cleans wrinkles and dust, and sets a consistent background. Final checks cover symmetry, neckline shape, color across views, and edge cleanliness at full zoom. A garment passes only when it looks worn, natural, and true to the real item.