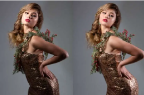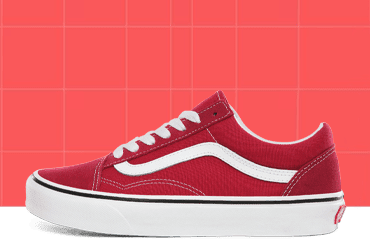




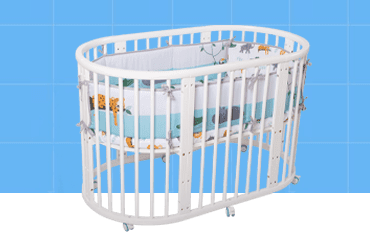

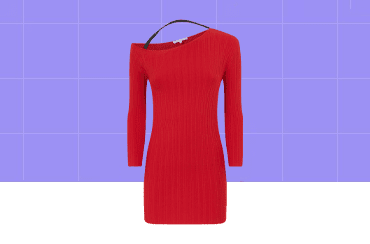




If your product photos look almost right but not quite, retouching is usually the missing step. Retouching is the corrective and enhancement layer that happens after the basics like background removal, it’s what fixes color that’s slightly off, dust on a lens that shows up on every shot in a batch, wrinkled fabric that wasn’t steamed before the shoot, and glare on anything shiny or metallic. It’s the difference between a photo that’s technically fine and one that actually makes someone stop scrolling.

Most sellers already know their photos matter. What’s less clear is what retouching actually involves, what it costs, and whether it’s worth paying for versus fixing things yourself or handing it to a freelancer. That’s what this guide covers.

What Product Image Retouching Actually Fixes

A lot of people use “retouching” and “editing” interchangeably, but they’re not quite the same thing. Background removal, clipping paths, and cropping are prep work: they get the image into a usable shape. Retouching is what happens after that, and it’s where the actual visual quality gets fixed.

Here’s what usually falls under retouching for product photos:

  • Color correction so the item on screen matches the item in real life. This matters more than people expect. A shirt that photographs slightly warmer or cooler than its actual color leads to returns and one-star reviews about “not what was pictured.”
  • Dust, scratch, and blemish removal, especially on jewelry, glass, and anything with a reflective surface. Even a clean studio setup picks up specks that only show up once you zoom in.
  • Fabric and surface correction, like smoothing out a wrinkle that survived steaming, or fixing a fold line that’s distracting the eye from the actual garment.
  • Reflection and glare control on glossy or metallic products, where studio lighting bounces back in a way that hides detail instead of showing it off.
  • Consistency across a batch, so twenty photos of different products in the same catalog all look like they came from the same shoot, same lighting, same color temperature, even if they were actually shot on different days.

None of this is about making a product look like something it isn’t. Good retouching makes the photo represent the product accurately, just without the flaws a camera and a rushed studio setup tend to introduce.

Does Retouching Actually Improve Sales?

There’s no way to promise a specific sales lift, and any article that gives you a hard percentage is probably making it up. What’s well established, though, is that product image quality is one of the first things people evaluate on a product page, often before they read a single word of the description. If a photo looks inconsistent, poorly lit, or slightly “off” in color, it reads as a lower-trust listing, even if the product itself is great.

This is also why marketplaces like Amazon have specific image requirements around background color, framing, and image quality for main listing photos. Sellers who don’t meet those standards risk listing rejections on top of the trust problem.

The honest answer is that retouching removes a friction point. It doesn’t manufacture demand for a product people don’t want, but it stops a bad photo from talking someone out of a purchase they were already considering.

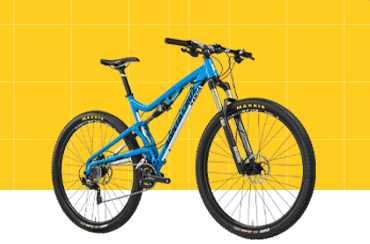
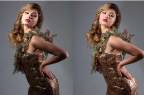
Before and after product polish

How Much Does Product Photo Retouching Cost?

Pricing depends on what you actually need and how many images you’re sending. Here’s a realistic breakdown based on Image Editing Asia’s published per-image rates:

ServiceStarting Price (per image)
Clipping path$0.29
Background removal$0.40
Shadow creation (drop, natural, or reflection shadow)$0.30
Ghost mannequin / neck joint service$0.60

If you’re editing in bulk, the per-image cost usually drops. Image Editing Asia’s tiered pricing runs $0.50 per image for batches of 1 to 500, $0.45 per image for 500 to 1,000, and a custom quote for anything above 1,000 images. Turnaround on standard orders is typically 24 hours.

The math is worth doing before you decide. If you’re running 300 product photos through background removal, shadow creation, and color correction, you’re looking at a modest per-image cost that’s usually a lot cheaper than the time it would take you to learn Photoshop well enough to do it consistently yourself, or the inconsistency you’d get from bouncing between different freelancers for different batches.

What’s the Difference Between Doing It Yourself and Hiring a Service?

Editing one photo in Photoshop is a different problem than editing a full catalog. A single image, you can eyeball it, get the color close enough, and move on. Twenty or two hundred images, you need every one of them to look like it belongs in the same catalog: same white balance, same shadow style, same crop ratio. That kind of consistency is hard to hold onto manually, especially if you’re editing in batches over several days and your eye adjusts as you go.

Freelancers can work, but quality and turnaround vary a lot from person to person, and there’s no guarantee the person who edited your first fifty images is the same one editing your next fifty. A dedicated retouching service, working from a set of house standards, tends to hold consistency better across a large batch, and it scales without you having to manage multiple people.

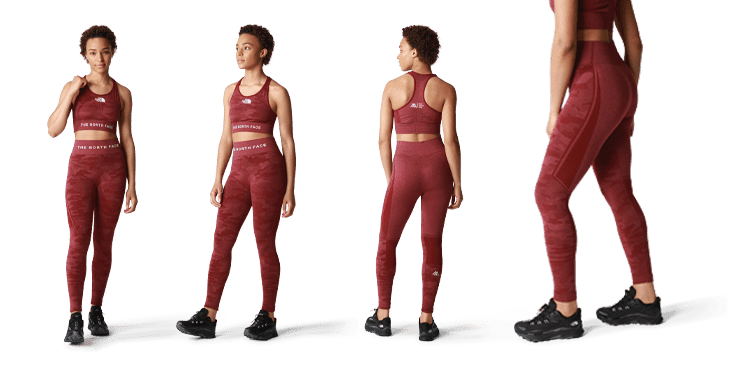
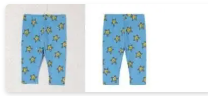
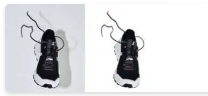
Product photo retouching before and after

Retouching Needs by Product Category

Not all product photos need the same kind of work. What matters for jewelry is different from what matters for clothing, which is different again from electronics.

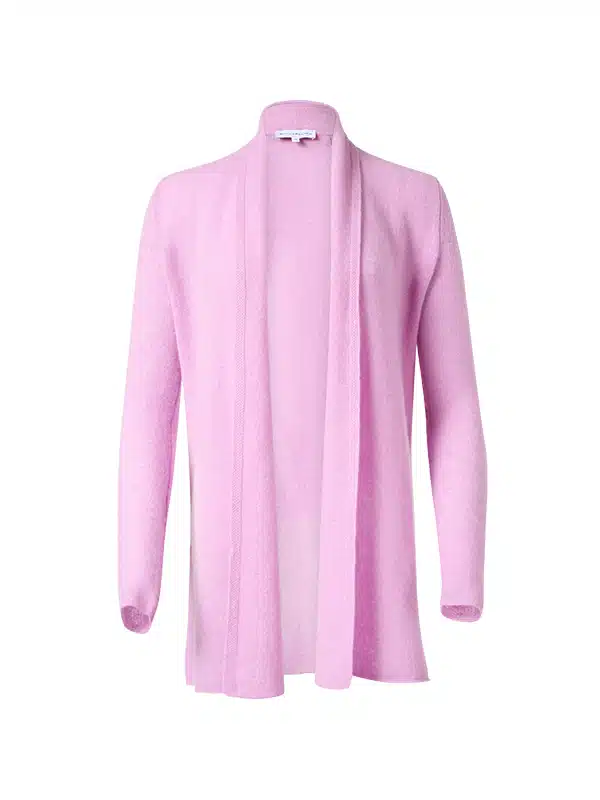
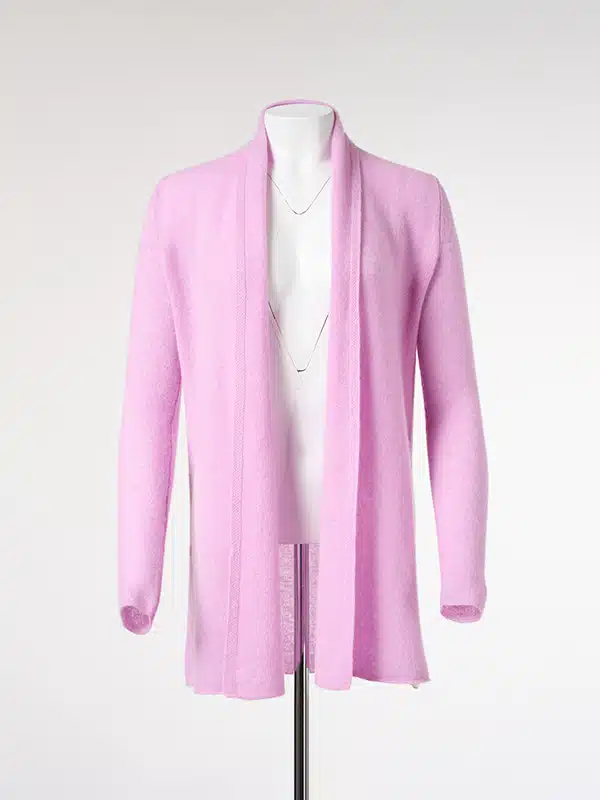
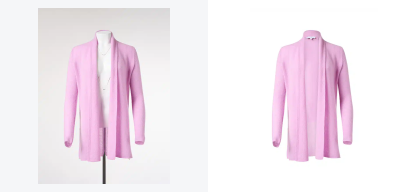
Clothing and apparel usually need the ghost mannequin (or neck joint) technique, which removes the mannequin from the shot entirely so the garment looks like it’s being worn, without a headless torso or a distracting prop in the frame. This pairs with fabric correction to smooth out wrinkles or fold lines left over from photographing flat or on a form. If you’re building out a full clothing product photo editing workflow, ghost mannequin work is usually the first thing to budget for.

Jewelry is detail-heavy. Reflections, tiny scratches, and dust specks are far more visible when the product is small and reflective, so jewelry photo retouching tends to focus on surface cleanup and enhancing sparkle and detail without making the piece look artificial.

Electronics and anything with a glossy or metallic surface run into glare problems that clothing and matte products don’t. Studio lights bounce off screens and metal casing, and retouching often has to selectively reduce glare while keeping the actual product detail visible.

If you’re managing a mixed catalog, it’s worth knowing which of these applies to which SKUs before you send a batch off for editing. It changes both the cost and the type of edit that’s actually needed.

Common Mistakes to Avoid

Over-retouching. It’s possible to smooth, brighten, and color-correct a product photo to the point where it no longer matches what actually ships. This isn’t just a trust issue, it drives returns, because customers are reacting to a photo that doesn’t match reality.

Relying on auto-enhance tools for color. Automatic color and exposure tools are fast, but they don’t know what the “correct” color of your product actually is. They’ll often shift a photo toward whatever looks generically pleasing, which isn’t the same as accurate.

Skipping consistency checks across a catalog. If half your listings look professionally retouched and half look like they were edited in a rush, it undermines the ones that look good. Buyers notice inconsistency even if they can’t articulate why a page feels less trustworthy.

Not testing a service before committing to a full batch. Sending your entire catalog to a new vendor without seeing a sample edit first is a good way to end up needing to redo everything.

If you’re shooting accessories or flat lays in-house before sending them off for retouching, it’s worth getting the composition right at the source too. Our guide to creating a flat lay for e-commerce covers the setup side of that, and our breakdown of the 8 types of product images every store needs is a useful reference if you’re planning a full shoot rather than just one image type.

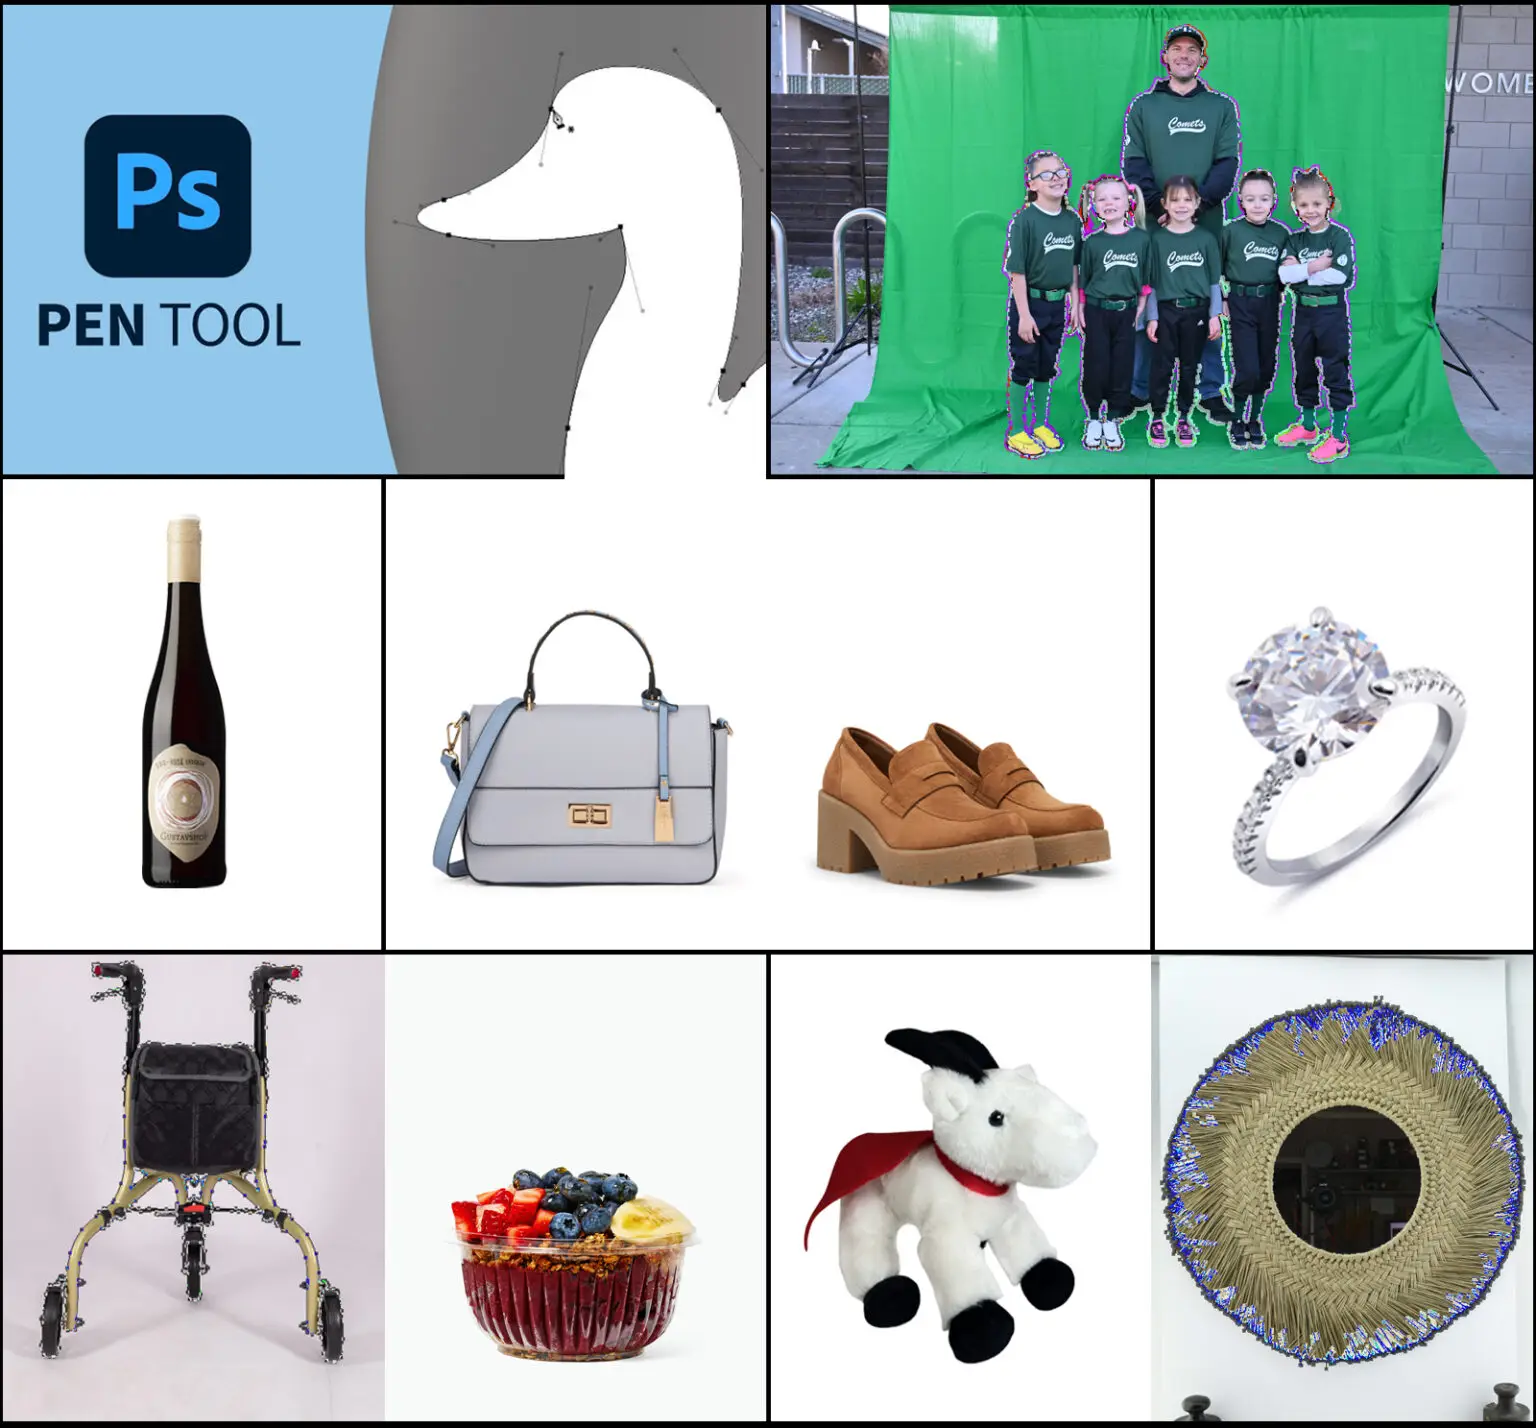
What to check before hiring retouching service

What to Check Before You Hire a Retouching Service

  • Turnaround time. Ask directly, and make sure it fits your listing deadlines, especially around seasonal launches.
  • Free trial or sample edit. A service that lets you test a few images before committing gives you a real sense of quality and communication, not just a sales pitch.
  • File format support. Confirm they can handle the formats you’re shooting in and the formats your marketplace requires for upload.
  • Bulk pricing structure. If you’re editing more than a handful of images regularly, ask how pricing scales, and whether there’s a custom quote option for larger volumes.
  • Revision policy. Know upfront what happens if an edit doesn’t match your brief, and how many rounds of revision are included.

Where Image Editing Asia Fits In

Image Editing Asia handles the full range of what’s covered above: background removal, clipping path work, shadow creation, color correction, ghost mannequin editing, and jewelry-specific retouching, along with high-end retouching for portrait and beauty work. Category-specific work extends further too, for example eyeglasses product editing for anything with lenses and reflective frames. Pricing runs on the tiers outlined above, and there’s a free trial available if you want to see how a sample batch turns out before committing to a full catalog.

If you’re not sure which services your catalog actually needs, that’s a reasonable thing to ask about before placing an order rather than guessing and hoping it works out.