If you’re budgeting for ghost mannequin editing, here’s the short answer: most providers charge somewhere between $0.60 and $3 per […]
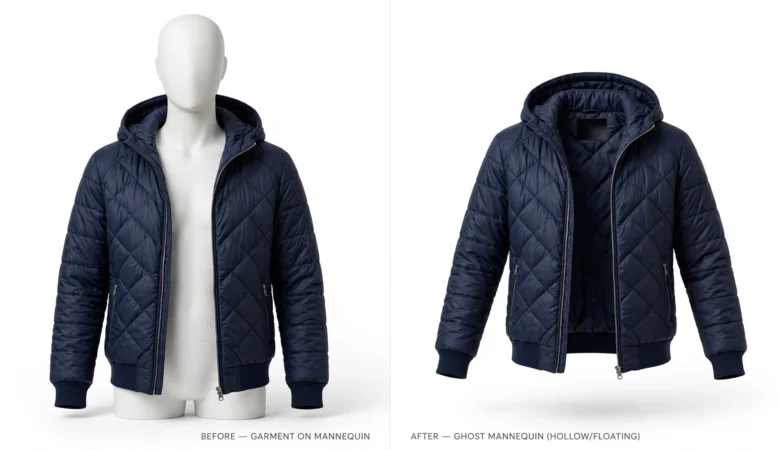


If you’re budgeting for ghost mannequin editing, here’s the short answer: most providers charge somewhere between $0.60 and $3 per […]
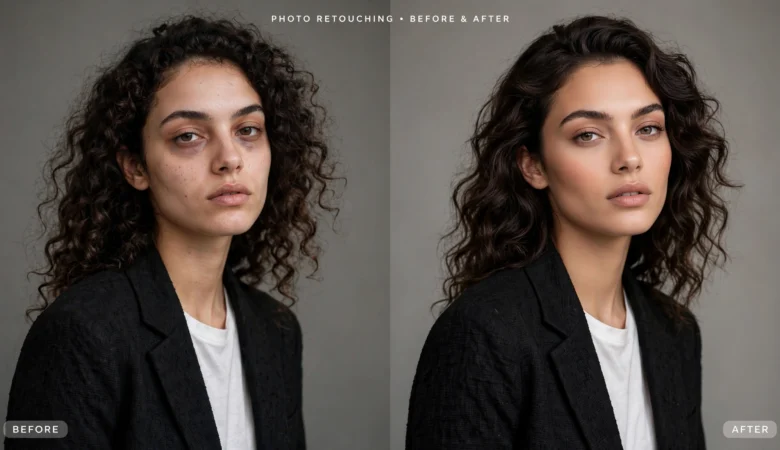
A fashion photo retouching service takes campaign, lookbook, and editorial images and refines skin, garments, color, and background so every […]
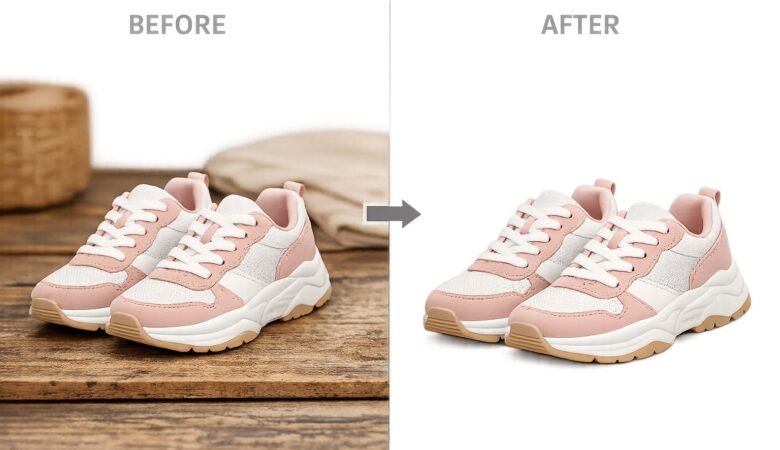
Most product image editing runs somewhere between $0.30 and $2.50 per image depending on what you’re asking for. A simple […]
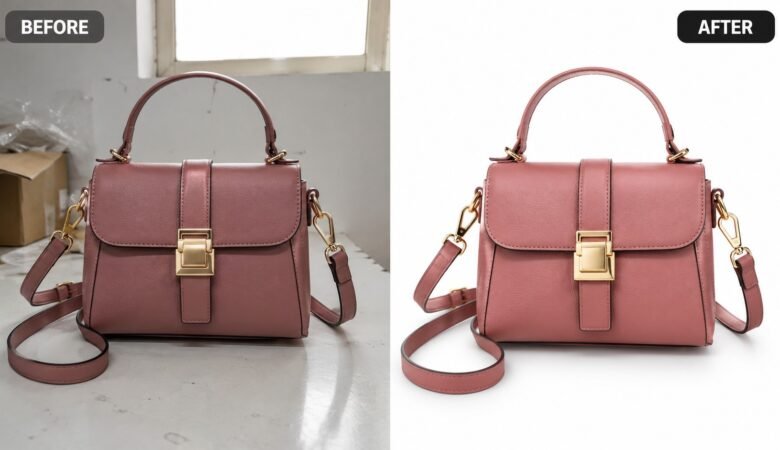
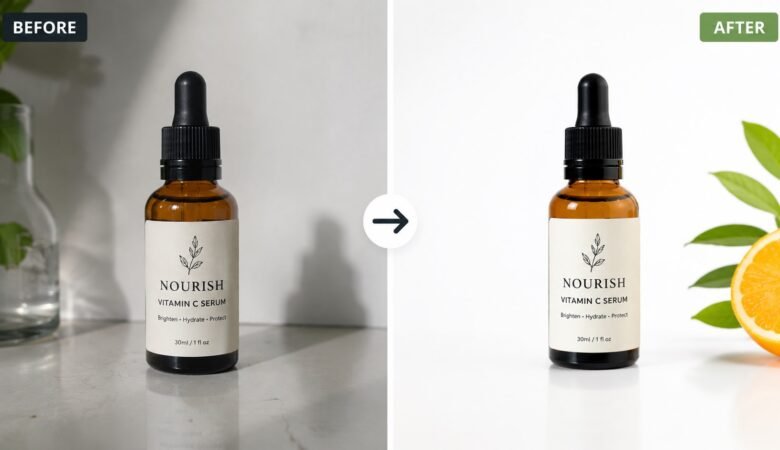
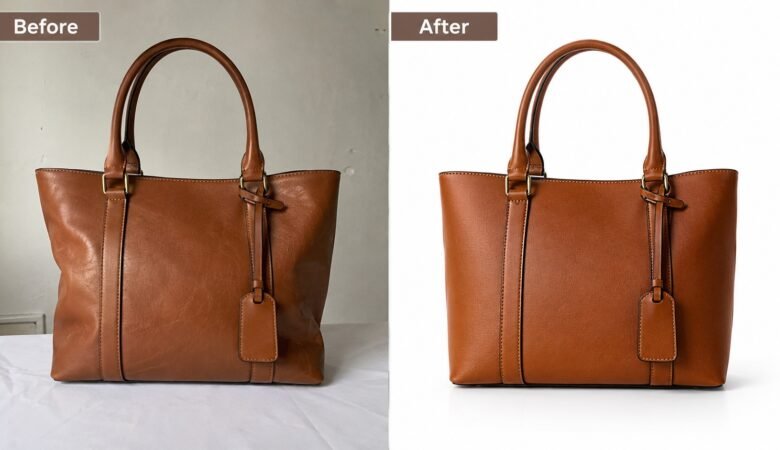
If your product photos look almost right but not quite, retouching is usually the missing step. Retouching is the corrective […]
If you sell online, you already know the real cost of product photography isn’t the shoot. It’s everything that happens […]
If you’ve ever uploaded a product photo and thought “this looks fine” only to see your click-through rate tank a […]
If your Shopify product photos look inconsistent or a little rough around the edges, your customers notice before they read […]
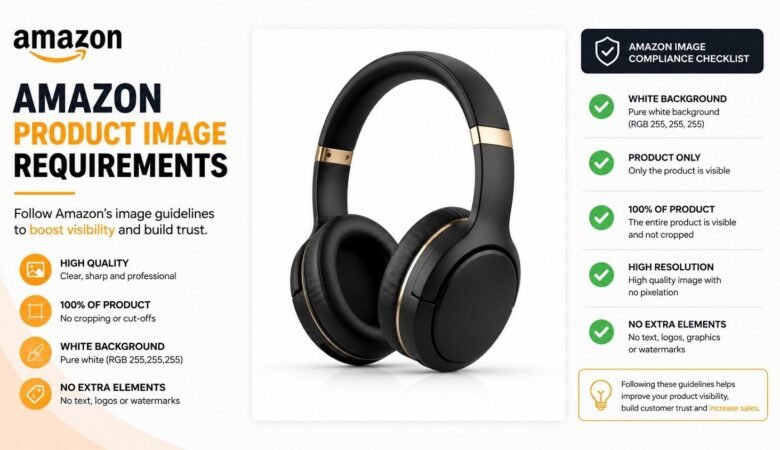
Amazon gives sellers very little room for error when it comes to product images. The rules are specific, the enforcement […]
Choosing a product photo editing service sounds straightforward — until you receive your first batch back and half the images […]
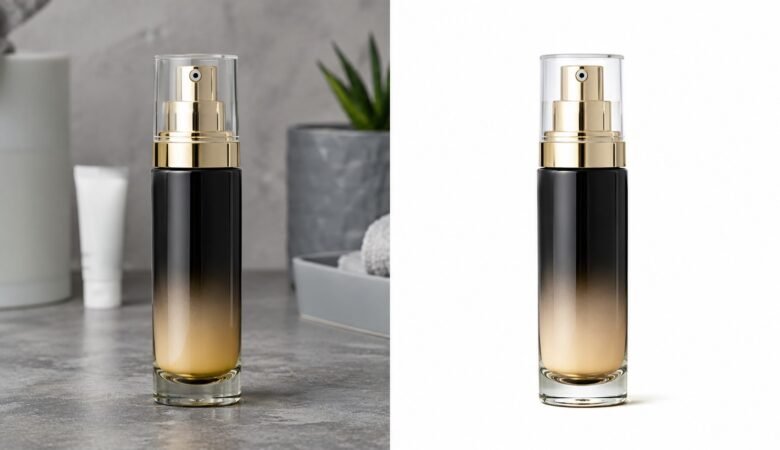
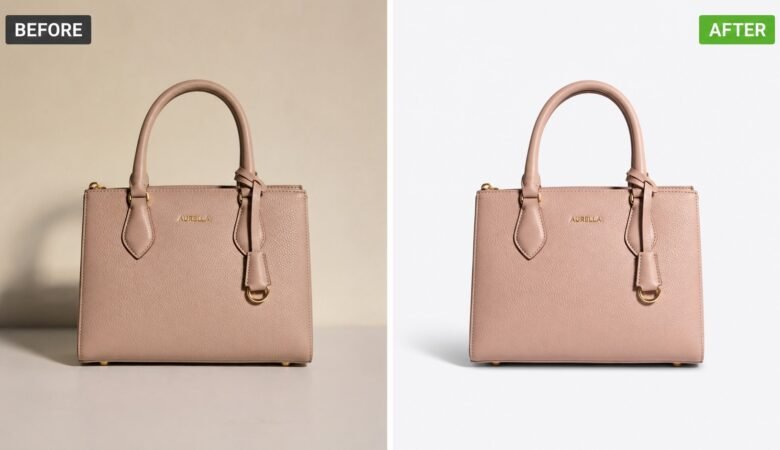
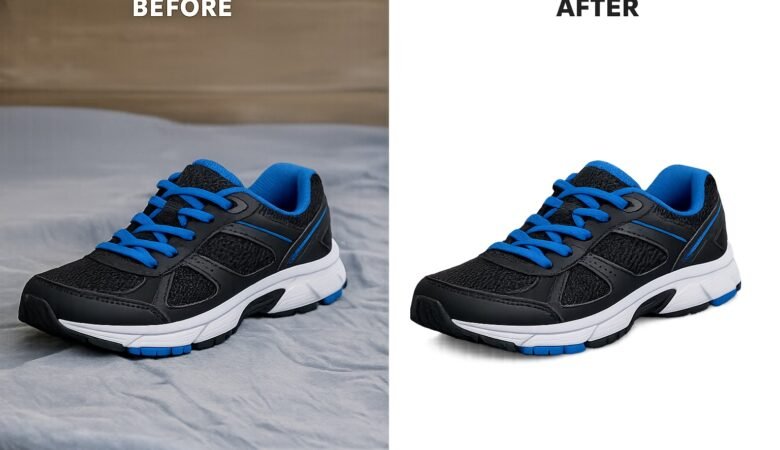
You spent time shooting your products. The photos look decent — but the background is cluttered, grey, or just wrong […]